Custom Box
Why I Built a Custom Box
I had just finished a prototype and needed to ship it to a client. In the past I would cut up old boxes to make custom sizes, but the results always looked rough. This time I designed a proper box in Fusion and used the laser cutter for clean, repeatable cuts. It worked well, so I turned what I learned into a reusable template.

Getting Started
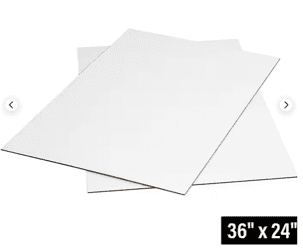
About ten years ago I worked with a packaging engineer who joked that he designed the part people throw away. He also showed me that CAD sheet metal tools can work great for folded cardboard, and this project finally gave me a reason to try it. My first test used random cardboard at home, but for this version I ordered white-faced sheets from Staples.
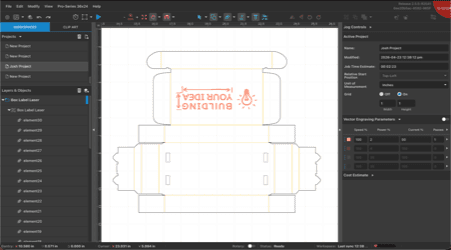
Designing in Fusion
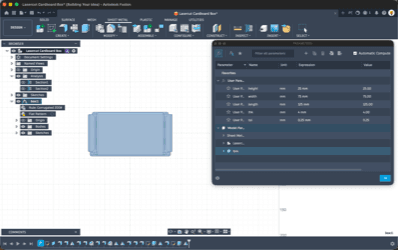
I chose a fold-over mailer style and built it in Fusion using the sheet metal workspace. Parameters made it easy to control internal dimensions, material thickness, and tolerance so I could quickly tune the fit without redrawing the whole model.
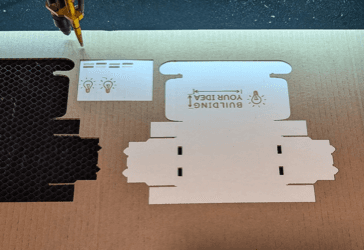
Laser Cutting the Flat Pattern
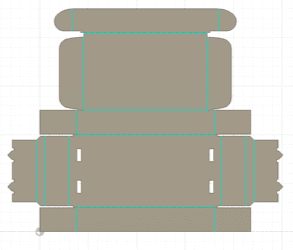
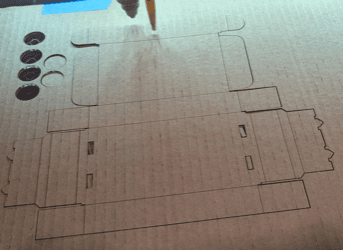
Next I exported the flat pattern and dialed in settings on the laser cutter with a few corner test cuts. Once it looked right, I cut the full pattern face down so the fold marks landed on the inside of the finished box.
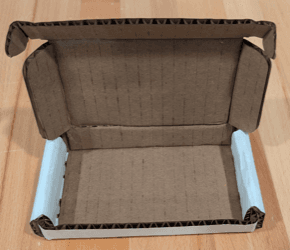
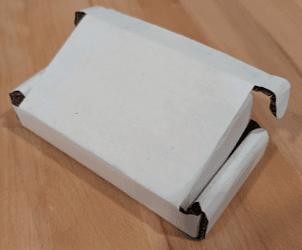
Folding and Assembly
The cardboard from my first test was around 3 mm, but this material was closer to 5 mm. That extra thickness made the folds bulky and the final box less clean than the earlier version. Next time I would use 1.5 to 2 mm stock, which is much closer to most commercial mailers.
Applying a Sticker Logo
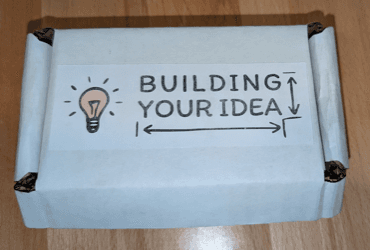
My first branding approach was a printed sticker logo. I used letter size sticker sheets, cut out the logo, and applied it to the lid. Glossy sticker paper looks better than the matte stock shown here, and this print was a bit faded because the printer was low on toner, but overall this is still a simple and solid option.
Designing a Laser Logo Option
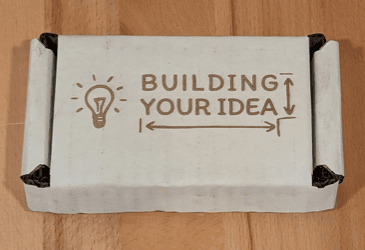
After cutting the box, the remaining fixture makes logo alignment very easy. I can flip the part, keep it registered, and laser mark the logo in the exact right spot. I created a single-color version of the logo and tested settings until the engraving looked clean.
Final Result and Next Step
The laser logo is a great option when durability matters and you want a clean, built-in finish. It does not have full color like glossy stickers, but it holds up better over time. If you need a custom mailer, reach out and I can build one with thinner stock for a more polished production look.