Learning the Process...
Reference Images
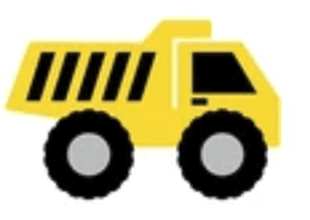
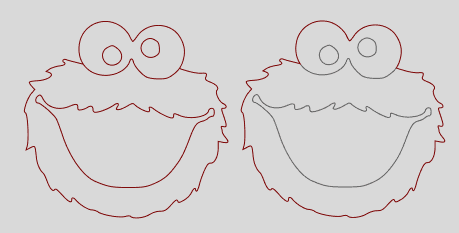
My daughter is really into Elmo and my son is into trucks so I figured I would start there. I stared with a clip-art style truck picture and an Elmo from a Cricket design.

Traces
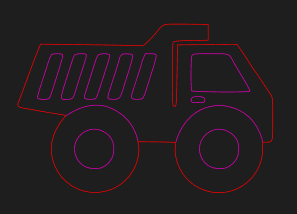
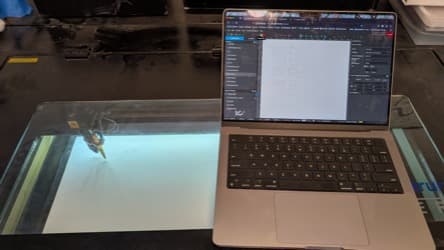
I loaded the images into Figma and traced with the Image Tracer plugin to get a good vector outline to work with.

Cleaned Design
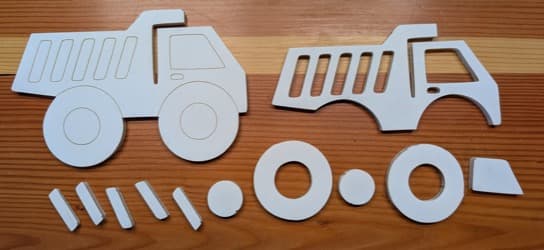
There are two layers to the final design. The carrier has the outline cut then all the inside details are just marked for alignment. The other layer is all the parts being cut out. I had to split these into different layers in Figma. The red is the cut lines and the gray is the engraving.
Laser Cutting
To get the layers to enter the cutting software I made 3 layers in figma. Carrier cut, Carrier engraving and parts cut. I then grouped these and exported as a group svg. When imported into the laser cutter as one file it gave me all 3 layers aligned as needed.
All the parts...
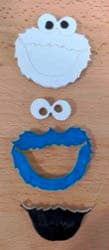
Here are the laser cut parts for the truck. Turns out the eyes on Cookie Monster and the door handle on the truck are too small and fell through the bottom of the laser cutter so they will be removed in the future.
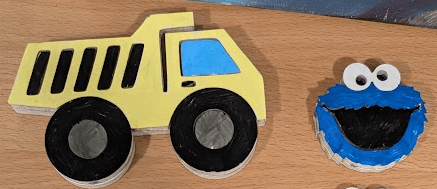
Coloring and gluing
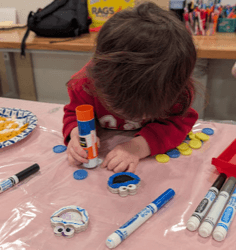
We used washable markers and a glue stick to color and put it all together (the eyes were just colored in black on the carrier since they were too small to cut out).
The finished designs
The final products were a big hit with the kids and I learned a lot about the process along the way. I will go back and redo the truck and upload the designs for sale but unfortunately I don't think I can get around the copyright on Cookie Monster.